When first starting out with 3D printing there is a long list of words that you need to learn in order to be a master. In this article we have assembled 14 of the most needed, so you can get started on the right foot.
What is an extruder?
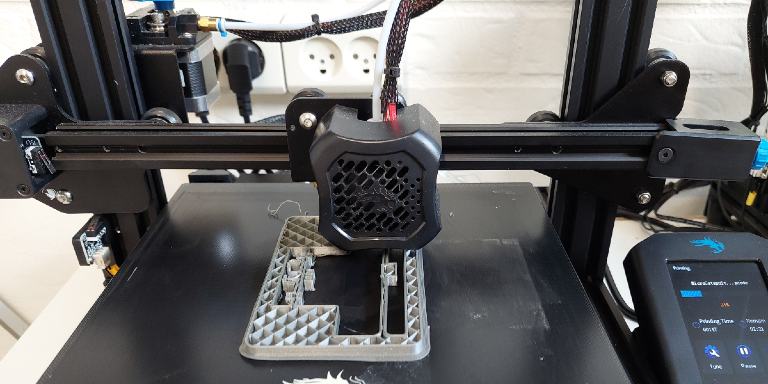
The extruder is a central set of parts of your 3D printer and is usually placed right in the center. The extruder dosages the right amount of filament when printing. At the same time, the extruder heats your filament, so it melts into the semi-liquid form that makes the filament flexible enough for 3D printing.
What is a Nozzle head?
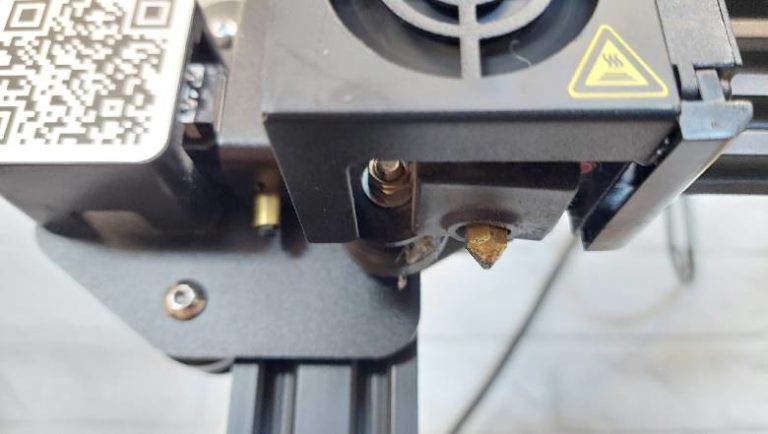
At the bottom of the extruder, you find the nozzle head. The nozzle head is the part that determines the amount of heated filament that will land on your building plate. The nozzle head is important because you can make larger prints and print faster with bigger nozzles. At the same time, you will get a finer print with smaller nozzles. The common nozzle head size is 0.4 mm, and it’s used by most 3D printer manufacturers.
What is a 3D print Bed?
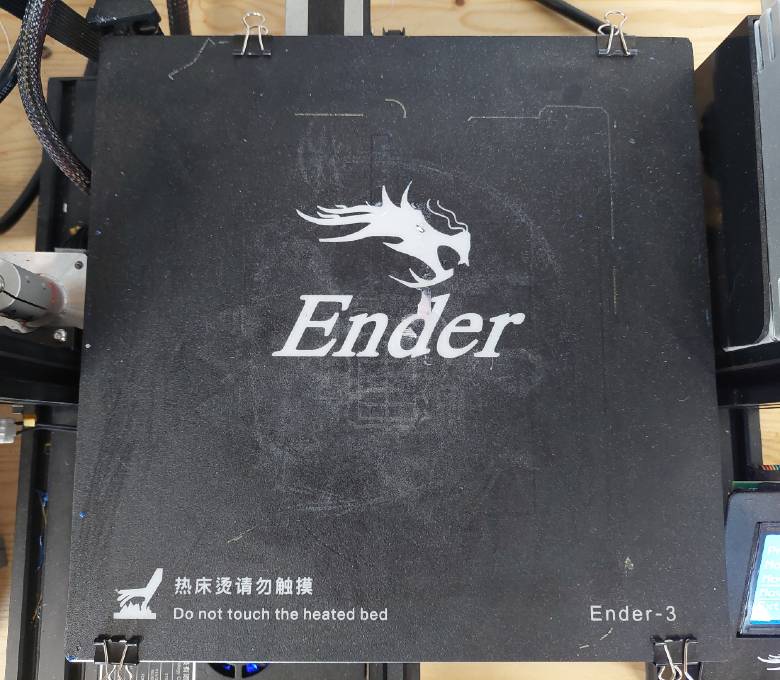
Your 3D printer’s building place is often referred to as the bed. When you start your 3D printer, you will notice that your bed warms up together with the filament. Your 3D printer will need the bed to be leveled and flat to place the heated filament correctly. The most common material for printer beds is plastic, but you can also have a bed made out of glass or aluminum to get another result for your printing.
What are rails?
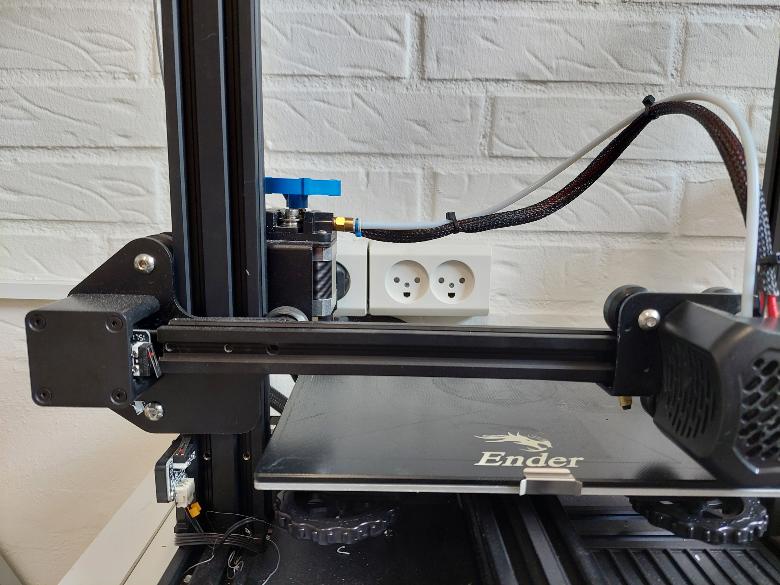
Your 3D printer’s print bed can move up, down, and to each side in smooth motion moves. The parts that make it do so are called rails, and most 3D prints have three rails, one for each ax. Connected to each rail is a small motor that pulls or pushes the extruder around while you print. Rails are not discussed as often as the parts explained above, but they are part of getting to know your 3D printing lingo.
What is filament?
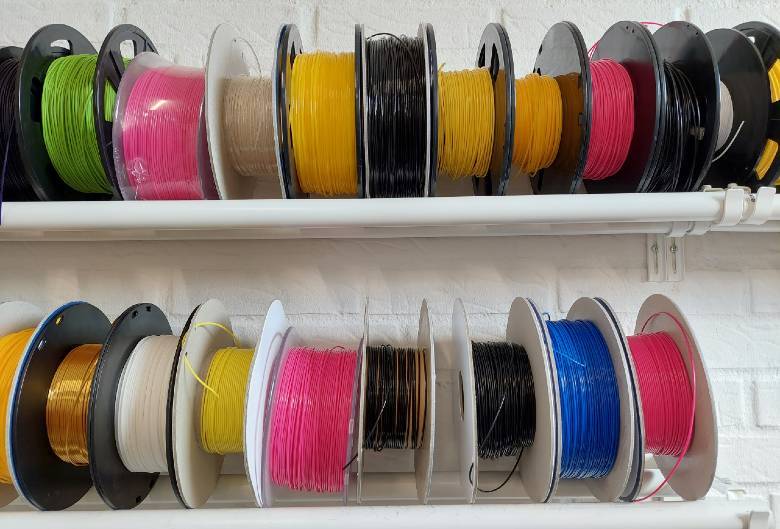
The material that you feed your printer with is called filament. Filament is typically made of plastic, and there are many different types of filament to print with, all giving a slightly different result. The most common filament type is the plastic format PLA (polylactic acid) because it is easy to warm up and flexible enough for most use-cases. You can explore other filament types like ABS, PETG, and TPE when you become more advanced.
What does slicing mean?
Slicing is the process of dividing your STL file model into multiple layers so your 3D printer knows how to print each layer. This process is one of the key theoretical elements of 3D printing.
What is a CAD and slicing software?
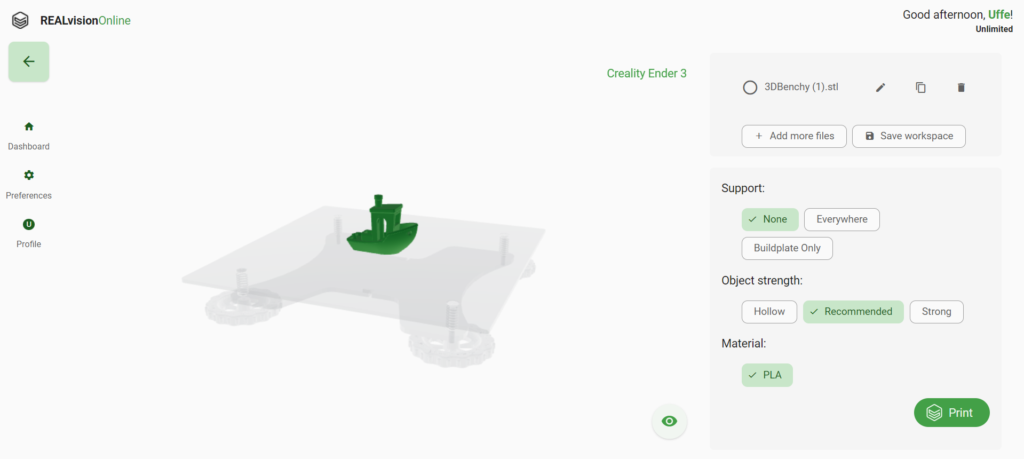
CAD software is a program where you draw the model that you would like to 3D print. When you first start with 3D printing, you can download models from an STL marketplace like Thingiverse.com. However, when you want to draw your own creation, you will need CAD software. Thinkercad is a good place to start.
You use slicing software when you want to convert your STL file to a file that 3D printers can understand. REALvision Online is such a tool. In the slicer software, you define which printer you would like to print on. You also use a slicer to make changes to how your 3D printer will print your model. Parameters like where on the bed your printer will print the object or print with or without support are something you choose when slicing your model.
What is does STL and G-code mean?
An STL file is the standard format you will receive when you have drawn a model in CAD software or downloaded a file from a platform like Thingiverse. The file STL describes the surface of a 3D object. However, the format does not tell how your printer will print all the different layers. That is why you convert your STL file to a G-code file before printing.
The STL file is also a generic format that doesn’t contain the knowledge of which printer you would like to use. That’s why you use slicing software to insert specific parameters like print speed and bed temperature into your file while converting your STL to a g-code file.
A G-code is a file format that is used explicitly for 3D printers. You will receive a G-code when you have used a slicing software like REALvision Online. The G-code contains all the parameters that you want your 3D printer to follow. It is parameters like print speed, filament temperature, and support choice.
What is overhang?
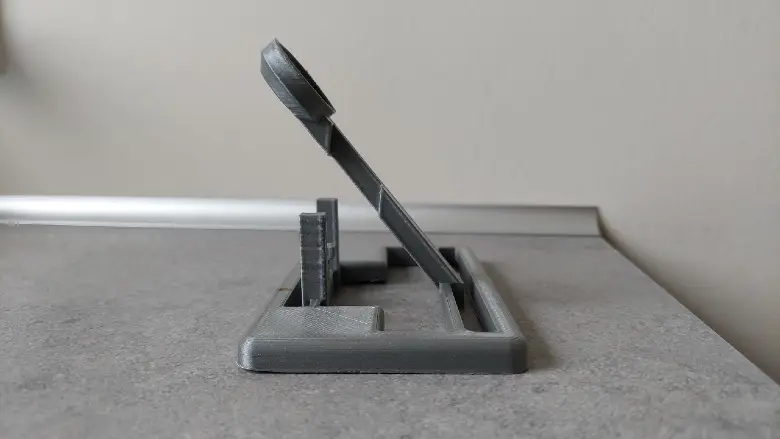
Sometimes you will want to print models where part of the model does not stand on the ground. This part of the model is called overhang, and you will want to watch it because you can’t print into thin air. To print models with overhang, you will need to enable support in your slicer software.
What does 3D printing with support mean?
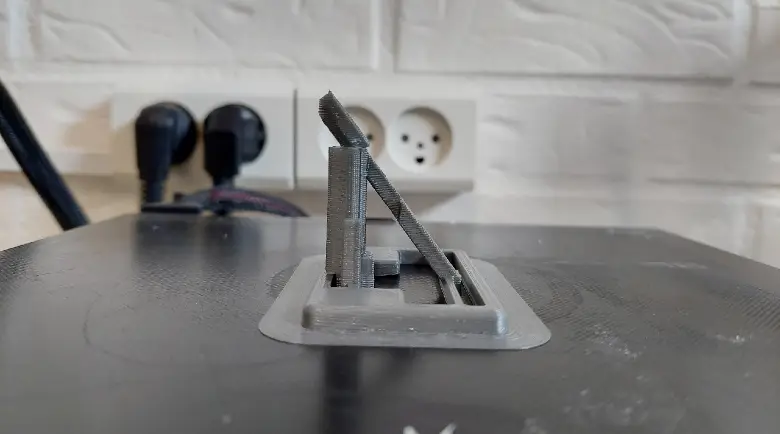
When you want to print models that have overhang, you will need to enable support in your slicing software. When you print with support, your 3D printer will print thin pillars that support the overhang of your model. The overhang of your model will be held up and kept while the filament dries.
What does 3D printing with Brim mean?
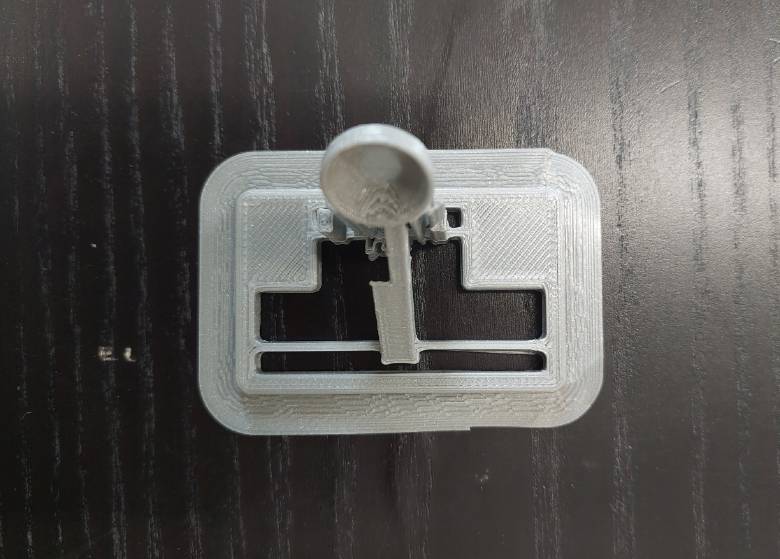
Brim is a thin layer of filament placed around the object you are printing. The brim layer improves how your object adheres to your print bed. Brim is the default at REALvision Online, so you will see it when you print.
What are layer height and thickness?
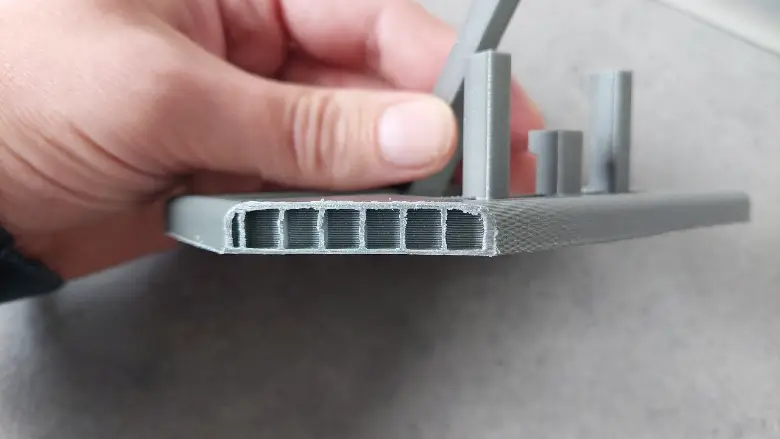
3D printing consists of layers of filament built on top of each other. Layer height and thickness are the terms used when determining how much filament to use for each layer. You can make your model more solid and stable by decreasing the layer height and increasing thickness. However, this will, at the same time, increase the print time.
What does infill procentage mean?
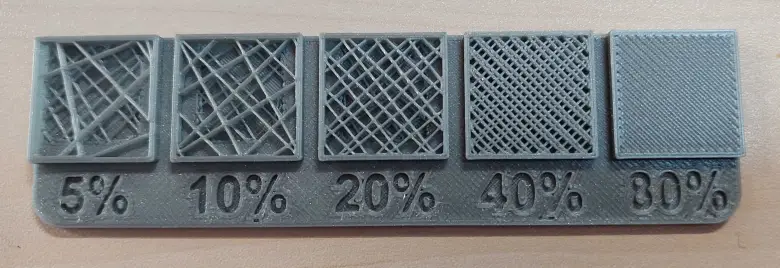
If you take a knife and slice your 3D printed object in half you will see a nice pattern of strings like on the picture above. Your model is not filled with filament, as this would be unnecessary and only increase your print time, the weight of the object, and your use of plastic.
When 3D printmakers refer to infill percentage they mean how much of your model is filled with filament. In the picture above you can see the difference between printing with different infill percentages. When you increase the infill percentage you increase the strength of your model.
Most models will be printed perfectly with a 15% infill, however, if you have a long and thin object it can be necessary to increase the infill percentage. Click here to read more about how to set your infill level correctly.
