Once your 3D print is complete, a few simple finishing techniques can make a world of difference in its appearance and feel. After removing supports light sanding can help smooth out the print layers and eliminate any small bumps left by the supports. We give you tips for a polished look, especially with PLA prints. These quick, accessible finishing techniques allow all makers to enhance their prints easily, making each project feel like a finished product with minimal post-processing tools.
1. Removing supports
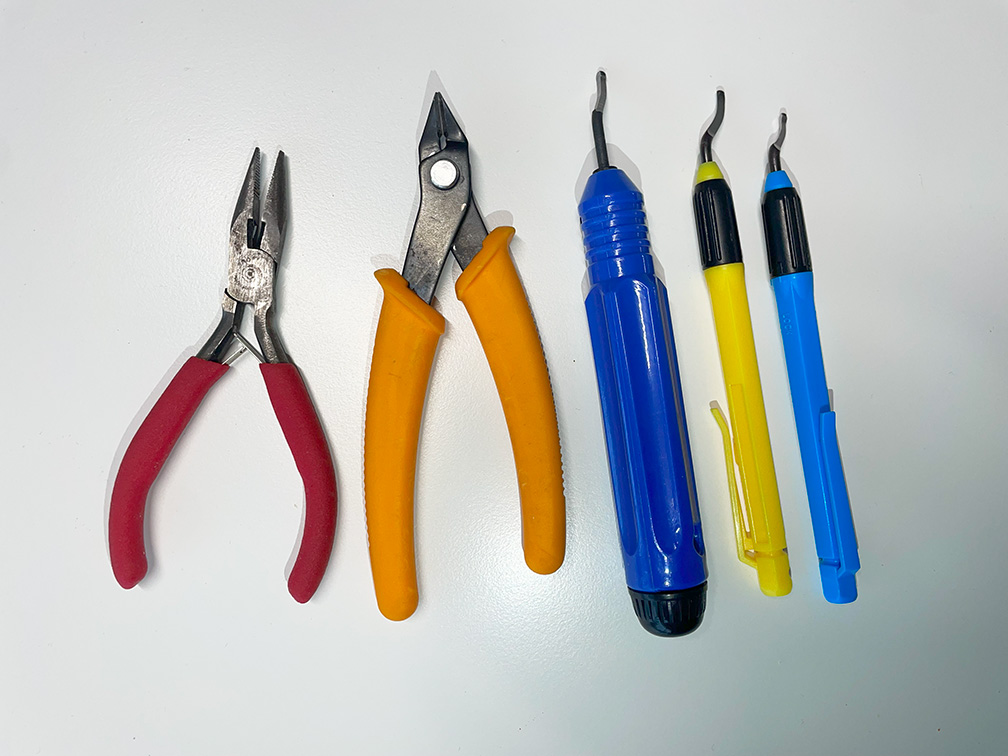
Removing support is the first step. Gently break away any support material, using tools such as pliers, flush wire cutters, and deburring tools if needed, to avoid damaging the model.
2. Layer sanding
Sanding is a go-to for reducing visible layer lines. For a polished look, work your way from rough to finer grit sandpaper, especially with PLA prints. Start with lower-grit sandpaper (like 100 or 200 grit) to remove major imperfections, then work up to higher grits (400 to 1000 or more) for a smooth, polished finish. Wet sanding, where you periodically dip the sandpaper in water, can be particularly effective on PLA and ABS prints, as it prevents overheating and clogging of the sandpaper.

3. Polishing with heat
Some materials, like PLA, can be lightly polished with heat. Using a heat gun set on low, you can gently melt the outermost layer of plastic, which smooths minor layer lines. Be cautious not to overheat, as this can deform your model quickly. Keep the heat gun moving and practice on a test piece before trying it on your final print.

4. Filling in gaps
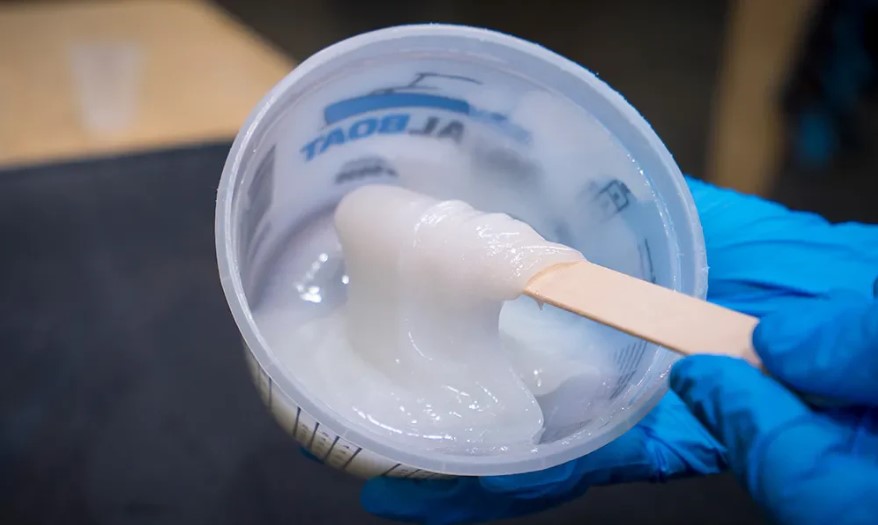
For models with noticeable gaps or seams, consider using a filler, like epoxy or wood filler. Apply it to the gaps, then sand it down once dry for a seamless look. This is especially useful on parts intended for painting or models printed in multiple pieces.
Source: https://www.totalboat.com/blogs/totalboat/epoxy-fillers-how-when-to-use-them
5. Priming and painting
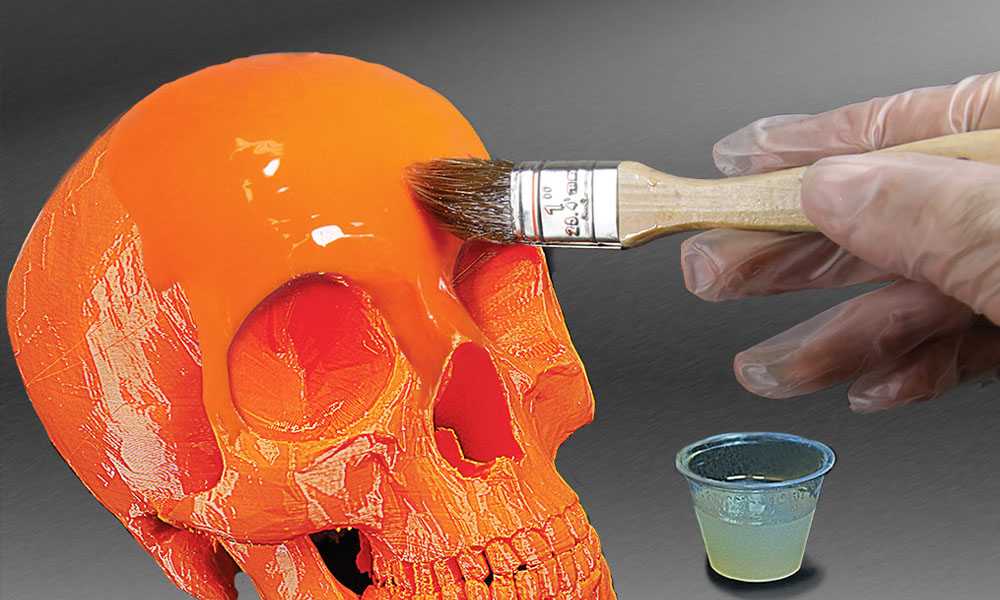
Painting adds a custom touch, and you can use acrylic paints for vibrant color or even primer for a professional look on functional parts. If you’re looking to paint your model, start with a primer spray specifically designed for plastics. A primer will smooth out fine imperfections and give the paint a good base to adhere to. Once primed, use acrylic paints for color, applied with a brush or spray for a smooth, even coating. Consider finishing with a clear sealant to protect your paint job from scratches and wear.
Source: https://specialstl.com/article/painted-3d-prints
6.Acetone vapor smoothing for ABS
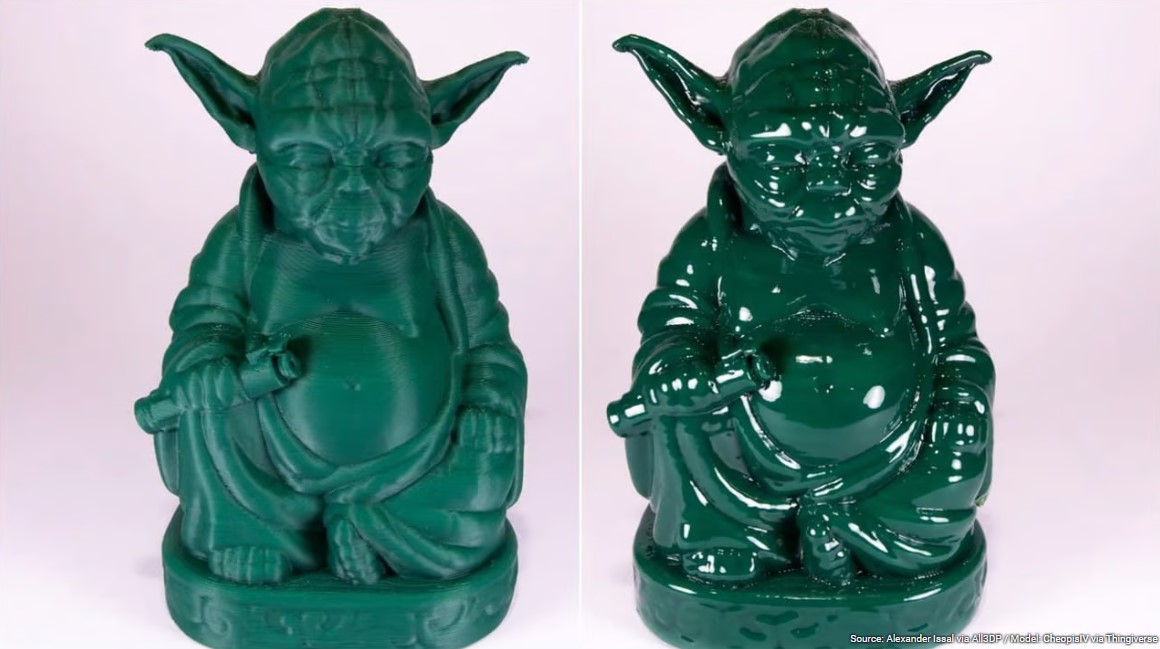
If you’re printing in ABS, acetone vapor smoothing is a popular method for achieving a high-gloss finish. By carefully exposing your model to acetone vapor (usually in a closed container), the surface layer softens and smooths out, giving a professional, almost injection-molded appearance. This technique requires caution, good ventilation, and protective equipment, but it can be highly effective for achieving a shiny, polished surface.
Source: https://all3dp.com/2/abs-acetone-smoothing-3d-print-vapor-smoothing/
7. Epoxy coating
For extra durability and a glossy finish, especially on prints used for functional parts or exposed to wear, you can apply an epoxy resin coat. Brush a thin layer of resin over the model, then allow it to cure completely. Epoxy adds strength and can also make the model water-resistant, which is useful for outdoor applications.
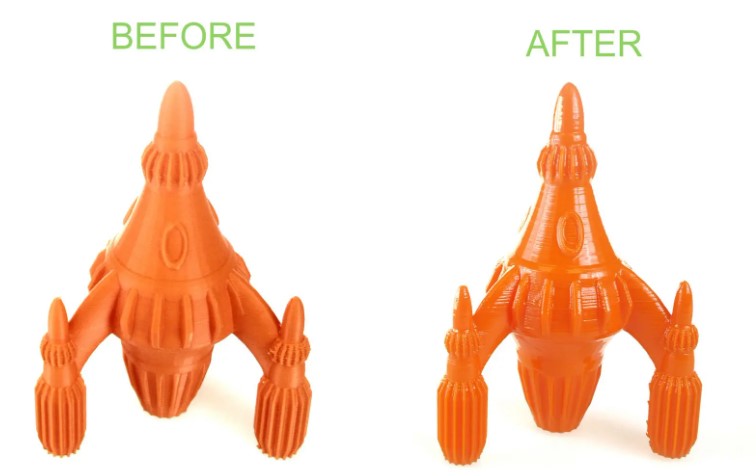
Source: https://airwolf3d.com/2013/11/30/7-steps-to-a-stronger-abs-part-with-resin/
8. Brushing and detail printing
For small models or highly detailed parts, using fine-tipped brushes can add color to intricate areas without masking or overspray. Detail painting with acrylics can be sealed with a clear acrylic spray to prevent chipping.
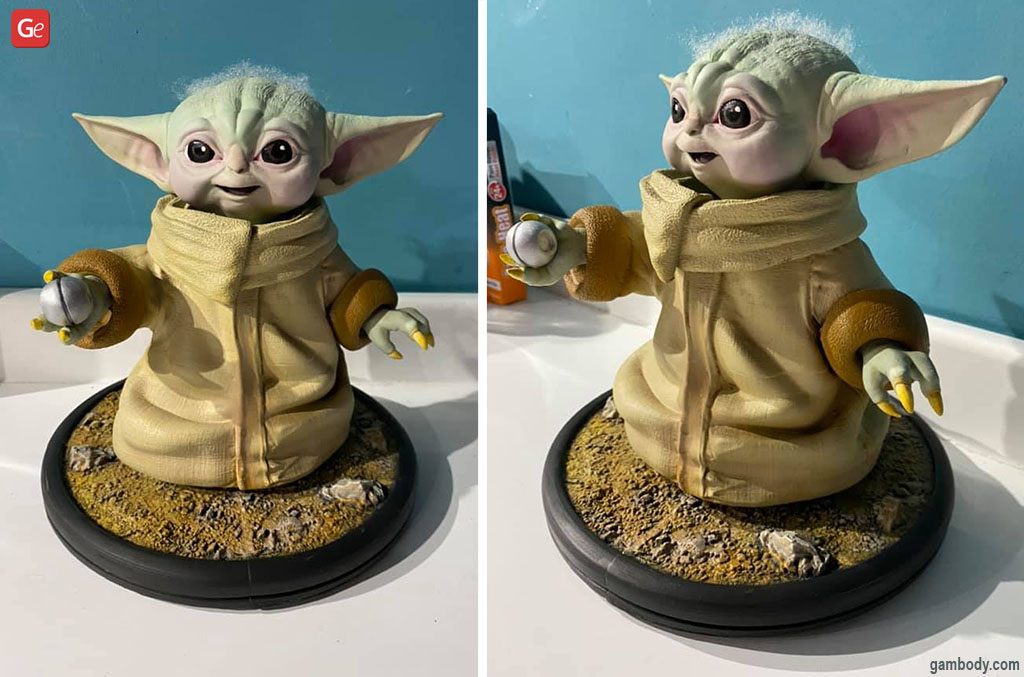
Source: https://www.gambody.com/blog/painting-3d-printed-models-how-to/
By experimenting with these techniques, you can give your 3D prints a polished, professional look and enhance both their appearance and durability. Starting with simple methods like sanding and painting can help you build confidence in post-processing, with plenty of room to explore as you gain experience.

