When you want to start 3D printing, you need CAD software to build your 3D model and slicing software to place the instructions on how your printer shall place the layers of your model doing the printing process.
Earlier, this has been problematic to do on a Chromebook as CAD software like Blender and slicer software like CURA and Prusaslicer requires that you download a client and use your computer’s hardware to do the 3D slicing.
This is not possible on a Chromebook, and therefore you will need to use software that runs online in your browser. REALvision Online is an online 3D print slicer software, running in your browser, and therefore it is perfect for 3D printing using your Chromebook.
In this article, I will show you how to convert your 3D model stl file into a G-code that your printer can understand. All in 8 simple steps using a Chromebook.
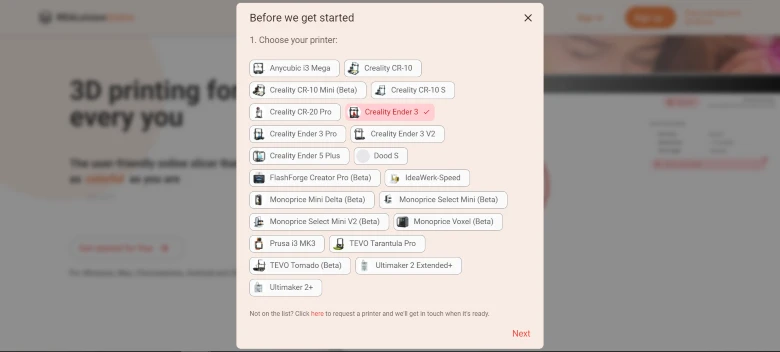
1. Choose your printer
When you first land on REALvisiononline.com, click the “Get started for free” button.
Next, you will see a pop-up asking you to choose your printer. Pick your printer and click next. Currently, 22 printers are available, and new printers are regularly added. If your printer is not available, you can request it from the link at the bottom of the pop-up.
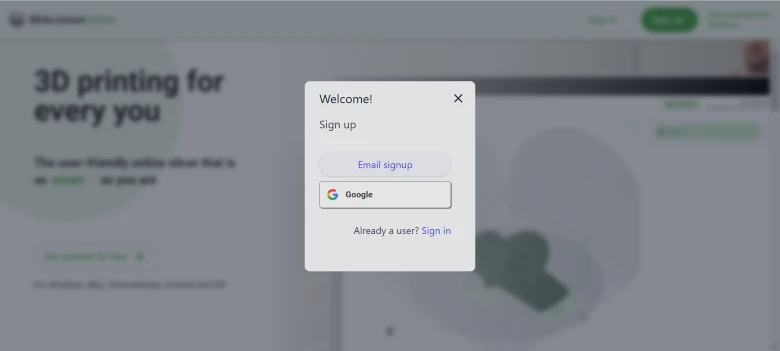
2. Create a free account
The next step is to create a free account. You can use your Google account or create an account using your email.
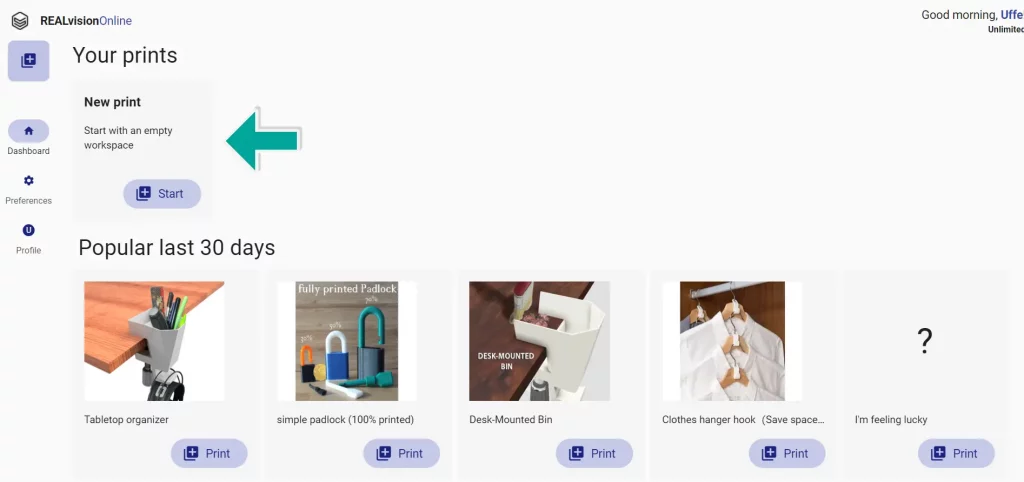
3. Start your first print
When you have created an account your land on your dashboard. REALvision Online is a slicing platform, where you can store your latest slices, and get inspiration for what to print next.
To enter the workspace, where you can slice your object, click “start” in the new print box.
4. Pick your 3D model
You will now see a print bed similar to the one on your printer. Click the large plus to pick the STL file you would like to print or drag your object onto the bed.
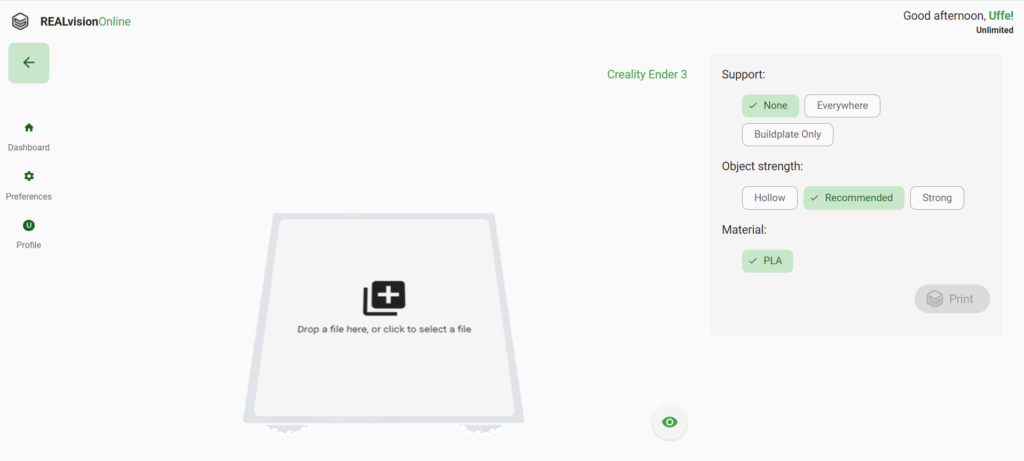
You can rotate around your object by clicking the right mouse button. Spin the mouse well to zoom in and out.
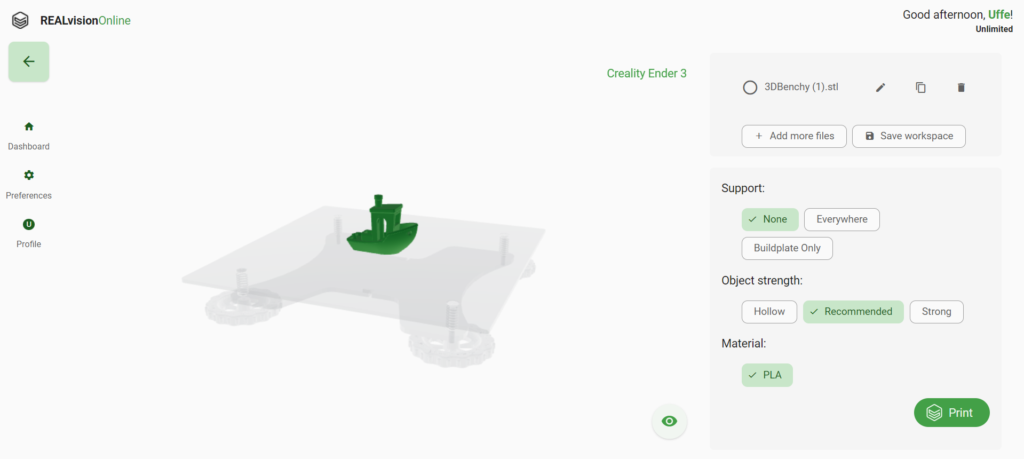
If your object isn’t placed correctly on the bed, you can rotate it by double-clicking on the object, to enter the rotation menu. It is also from here, you can scale the size up or down.

5. Set support and printer settings
The purpose of a slicer is that you add can add directions on how your printer shall print your object. In many cases, you will not need to change the settings, as the recommended mostly are the best choice.
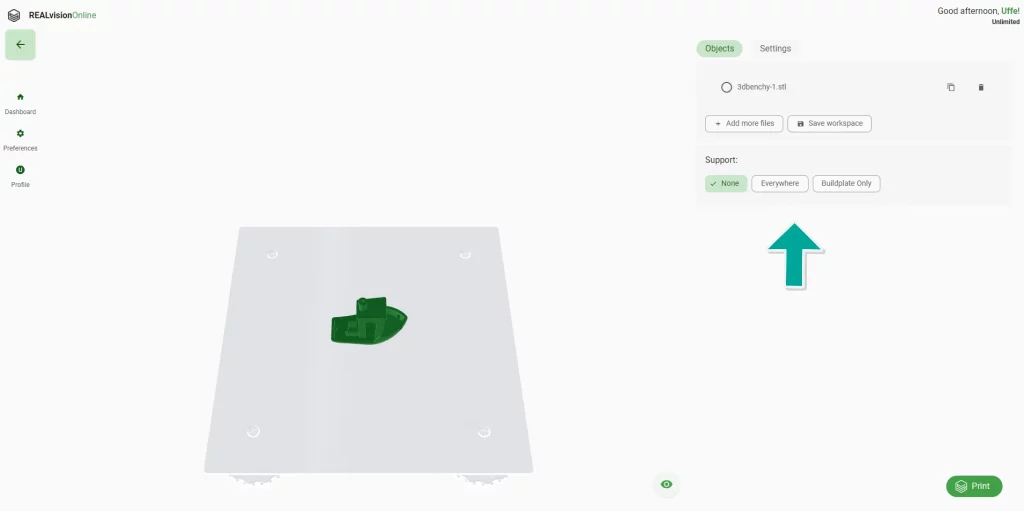
However, if you need to add supporting layers to hold your object while printing, you can add support from the workspace menu.
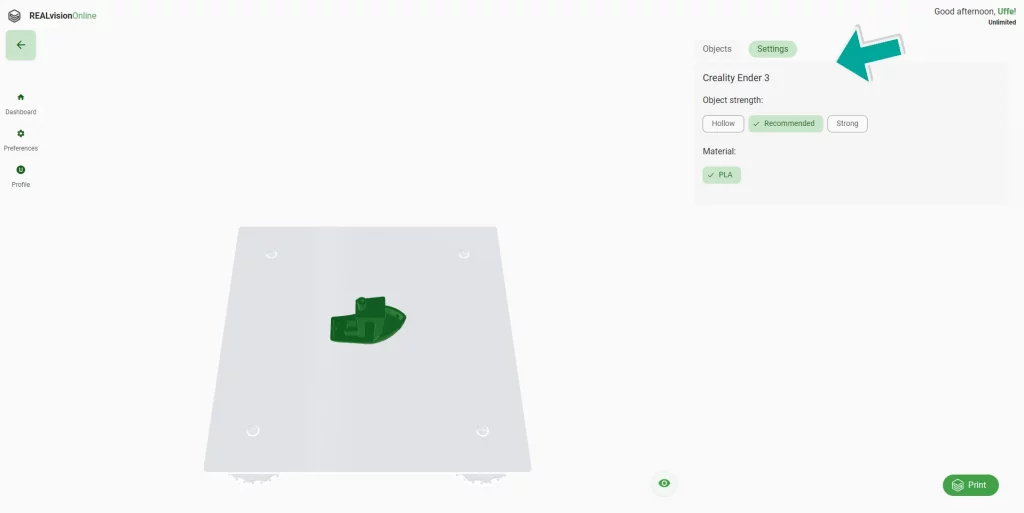
You can also make your object stronger, by adding more infill texture inside the object. You do so by clicking “settings” in the top right corner and choosing strong. In this article you can read more about choosing the right infill level
6. Slice your object to g-code
When ready, you click the “Print” button in the right button corner to start converting your stl. file to a G-code that your 3D printer can use.
You will now see a circle progress bar telling you how far your file is from being ready to download.
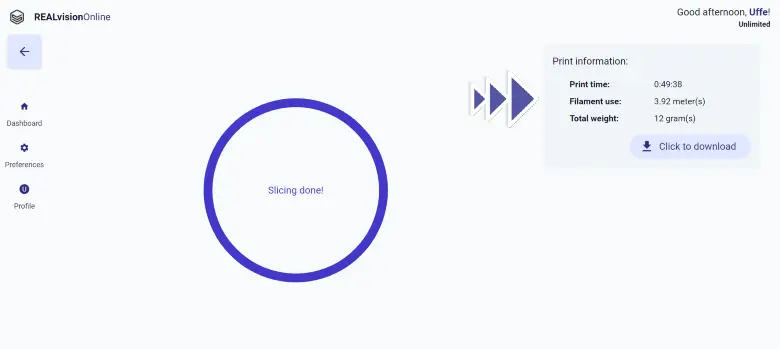
When the slicing is done you can download your file by clicking the “download” button in the upper right corner. In the box, you can also see the expected print time, filament need, and weight of the object.
7. Put your G-code into your printer
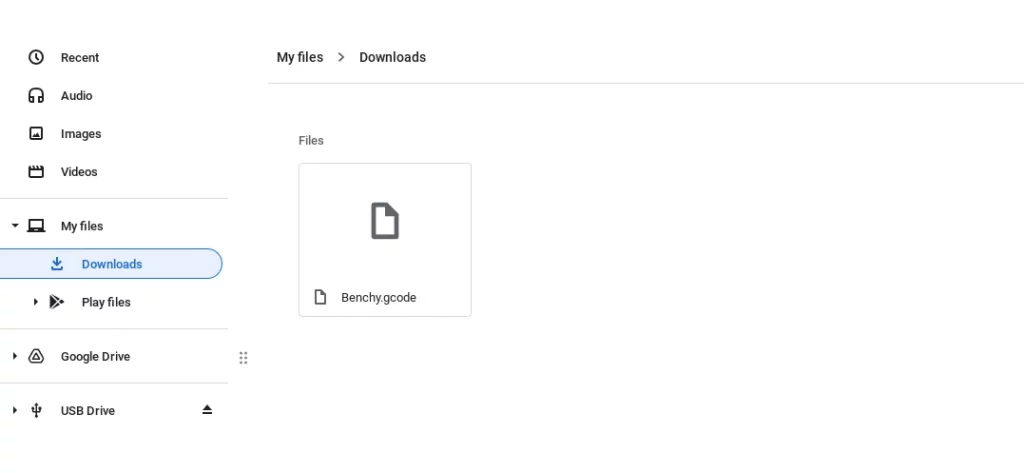
Your G-code file will automatically be placed in the downloads folder with the name of your object and ended with .gcode
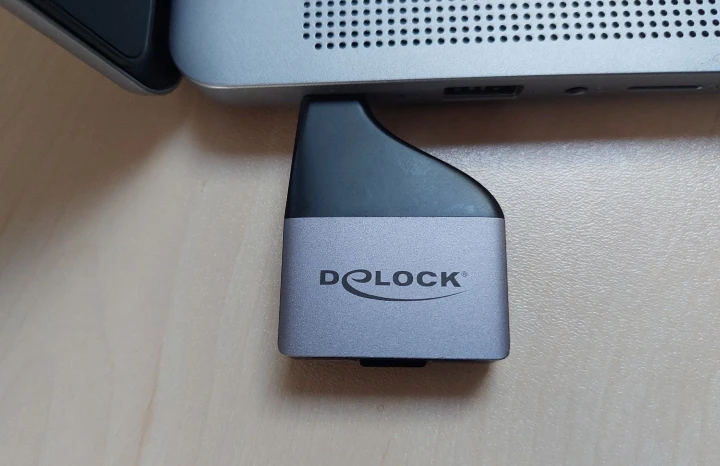
To put your file in most 3D printers you first need to put it on either an SD or MiniSD card. As Chromebooks usually don’t come with a built-in connector for these cards, you will need a converter.
I use a USB-C adopter from Dolock but they are pretty standard, so you can find one at your local IT store.
Recommended CAD software for 3D print on a Chromebook
When starting with 3D printing, I recommend that you download models that others have designed. You can find a lot of good ones at Thingiverse. When printing other designers’ designs, you only need an online slicer to 3D print on a Chromebook.
However, you will need online CAD software when you have become experienced and would like to create your own designs. I recommend ThinkerCAD for beginners and Vectary for more advanced users. ThinkerCad is especially good for children who would like to learn and create their own 3D models, as there is a large backlog of premade models and tutorials to learn from.
Which 3D printer is compatible with a Chromebook
In most printers, you will need to insert an SD Card or a MiniSD card with your G-code file on it to start your print. Therefore all printers are compatible with Chromebook, as you only use your Chromebook for 3D modeling and slicing.
Now it is time to start your first slice
I hope this article has answered all your questions about getting started with 3D printing on your Chromebook. If you haven’t already done it, your next step will be to create an account on REALvision Online. Remember that you can click the small conversation button on this page to ask me further questions.