REALvision Online is designed to be easy to use. Therefore building support, brim, skirt, and raft are also easy to handle.
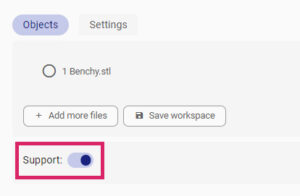
When the Support option is on, support, raft, and brim are automatically built where necessary for a good print result. It is generated based on the geometry of the 3D model and the 3D printer. So basically the software takes care about them when the Support option is turned on. Turning it off means no raft, brim, and support will be built. You can find the Support toggle in the Objects menu on the right in REALvision Online.
What are support, brim, skirt and raft in 3D printing?
Now you might be thinking, “All good, but what are support, brim, skirt and raft? Let’s make a short recap:
Support
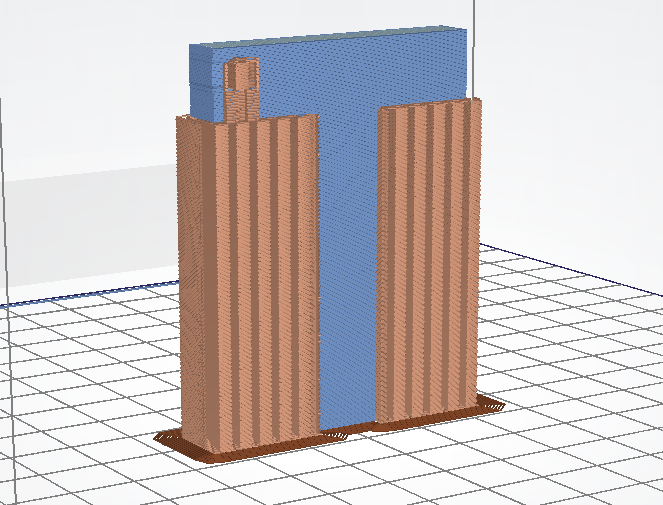
Support is short for “support structures”. These structures are thin strings of filament that your 3D printer builds to make sure that all your models’ layers are in place, specifically at the parts of the model where it is hanging over the build plate, so there would be no material layers underneath. Without support, these parts would be printed in thin air. See the structures in brown on the image:
Skirt
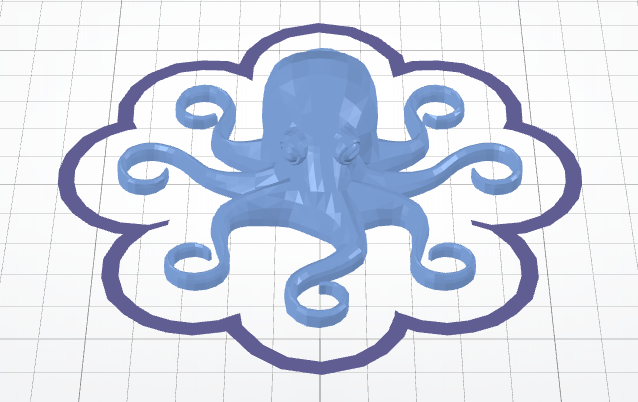
Skirt is a printed border around the 3D printed object. It does not touch the printed part. The 3D printer lays filament lines to create the border before starting to build the rest of the part.
Brim
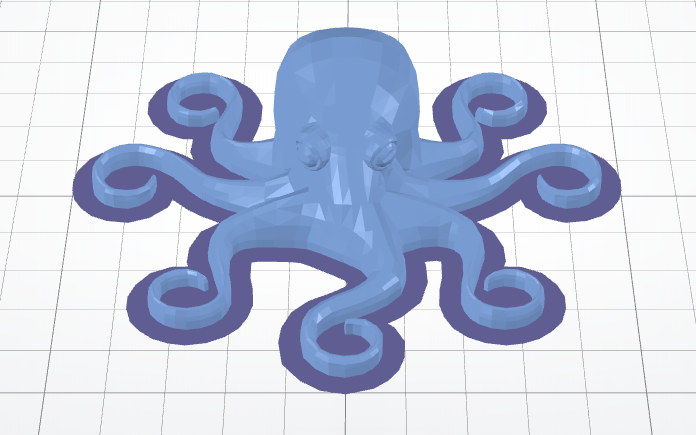
A Brim is a special type of skirt that is attached to the edges of your model. The brim is usually printed with a increased number of outlines to create a large ring around the part. Just like the name says, it is similar to the brim of a hat.
Raft
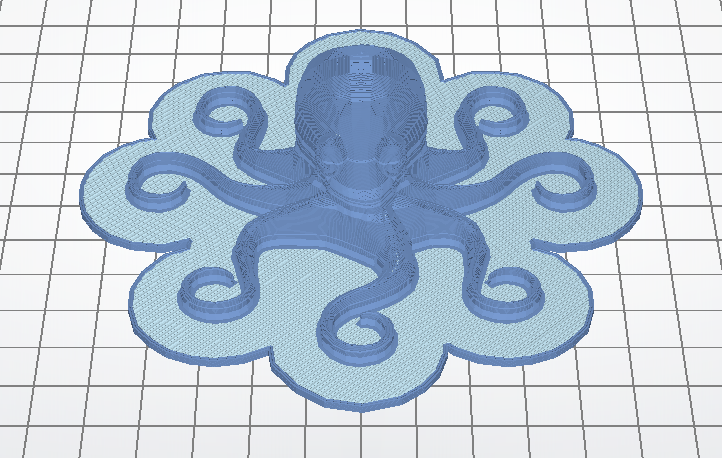
A raft is a 3D printed platform on which parts are printed. Typically consists of a grid-like structure, which sits underneath and extends beyond the borders of the first layer of the 3D model, acting as a base.
When to turn Support on in REALvision Online?
Now that you have an understanding of the terms, it is important to clarify when do you need to use these. How to decide whether you should turn the Support option on or not? You need to think of the followings.
Support at overhangs
Check the angle of the overhang on the 3D model. According to the 45-degree principle, if the angle of the overhang structure from the vertical is less than 45 degrees, you can print without adding support – see the letter Y on the illustration. If the overhang is larger than 45 degrees from the vertical, a support structure is required – see the letters H and T on the illustration.

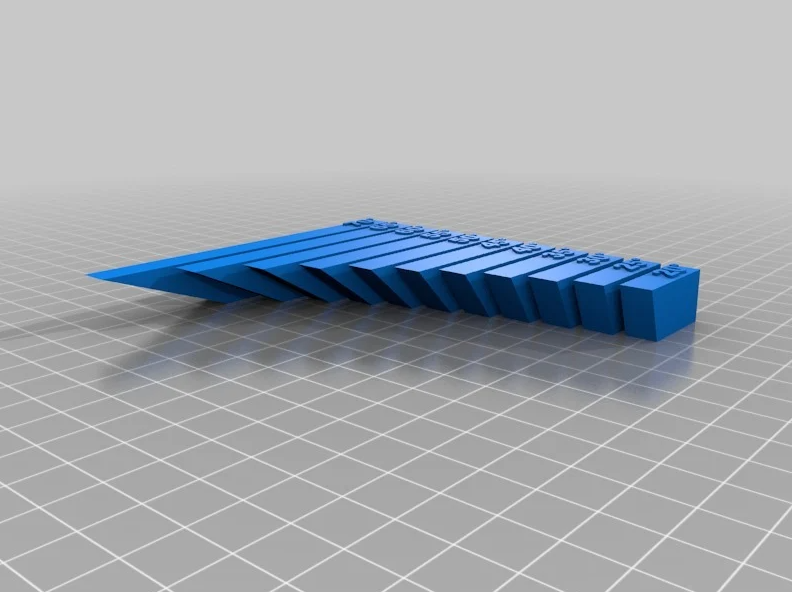
But the situation is often not that black and white. Depending on the nozzle diameter and other settings a 3D printer can cleanly print overhangs with an angle between 45-60 degrees. I suggest experimenting with what your printer can “comfortably” do. You can use this model to test your printer. It’s designed to test angles from 20° to 70°.
Support on bridges
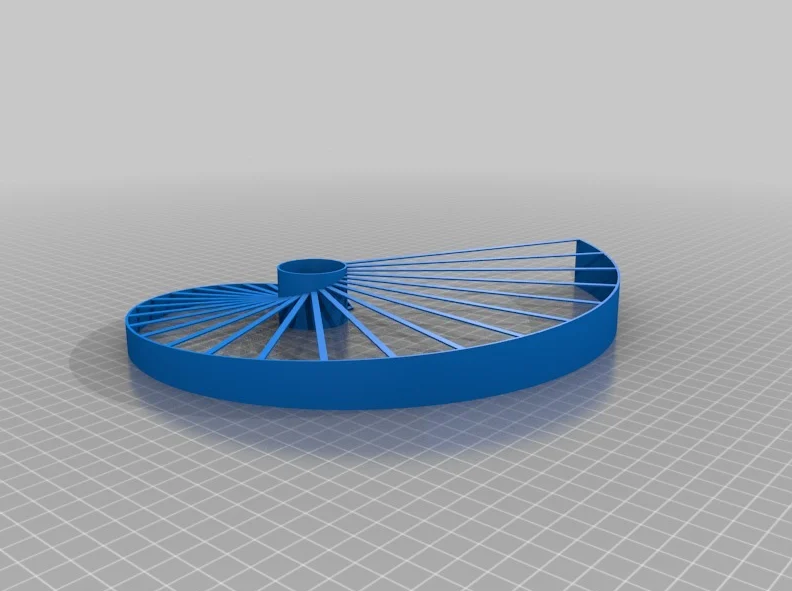
In the case of bridges, the rule of thumb is: that if a bridge is less than 10 mm in length – look at the letter H on the illustration above -, the printer may be able to print it without support. If this distance is longer, support is necessary for good print results. Again, this is just a general rule, I recommend testing your printer first. You can use this bridging test model.
The downside of using support in 3D printing
By now you understand that support structures are extremely important for successful prints. On the other hand, it is important to remember that support structures are excessive material that needs to be removed from the 3D model and ends up in the trash.
Therefore it increases the cost of the 3D-printed part and causes longer printing time. Plus, you also need to count with the time and effort that it takes to remove the support.
Happy printing!✌️
Start printing with REALvision Online


