If you’ve ever had a PLA print warp in a hot car or soften in the sun, you’ve already seen one of PLA’s biggest weaknesses. The good news is that there’s a simple post-processing method that can significantly improve strength and heat resistance — salt annealing.
This tutorial is written for beginners, so you can follow it step by step without any special tools or experience.

What salt annealing is
Salt annealing is a technique where you bury your 3D-printed part in salt and heat it in an oven at a controlled temperature.
The salt supports the model from all sides so it can heat evenly without sagging or warping.
Inside the plastic, the heat lets the polymer chains rearrange into a more stable structure — that’s what boosts durability and heat resistance.
Why you should salt anneal your 3D prints
Salt annealing is popular because it’s easy, cheap, and effective.
Here are the main benefits:
- Higher heat resistance
PLA’s softening point can increase from ~55°C to 80–100°C. - Stronger, tougher parts
Perfect for brackets, mechanical prints, and daily-use items. - Less warping during annealing
The salt bed keeps the part in shape. - Better long-term stability
Annealed prints hold their dimensions better under load.
What you need
You only need a few inexpensive items:
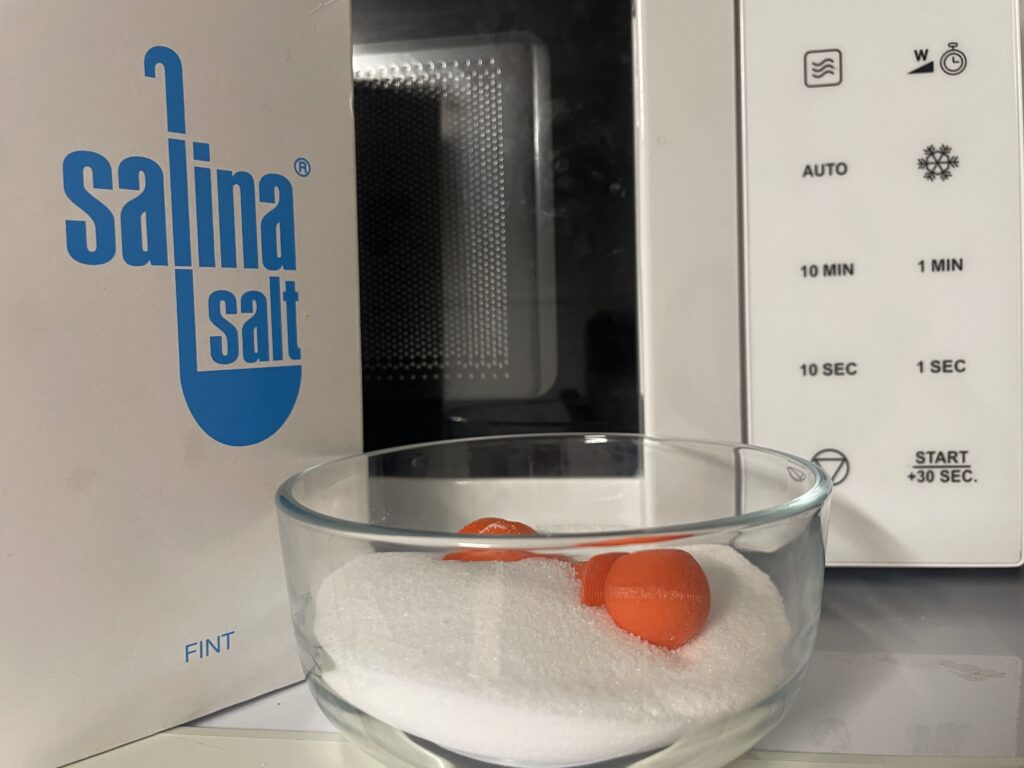
- A metal or glass oven-safe container
- Table salt or coarse salt
- An oven (kitchen ovens work fine)
- Your 3D-printed PLA part
- Optional: a thermometer for extra accuracy
How to salt anneal a 3D print
- Prepare your container
Pour a layer of salt in the bottom of your container — about 1–2 cm is enough to form a base.
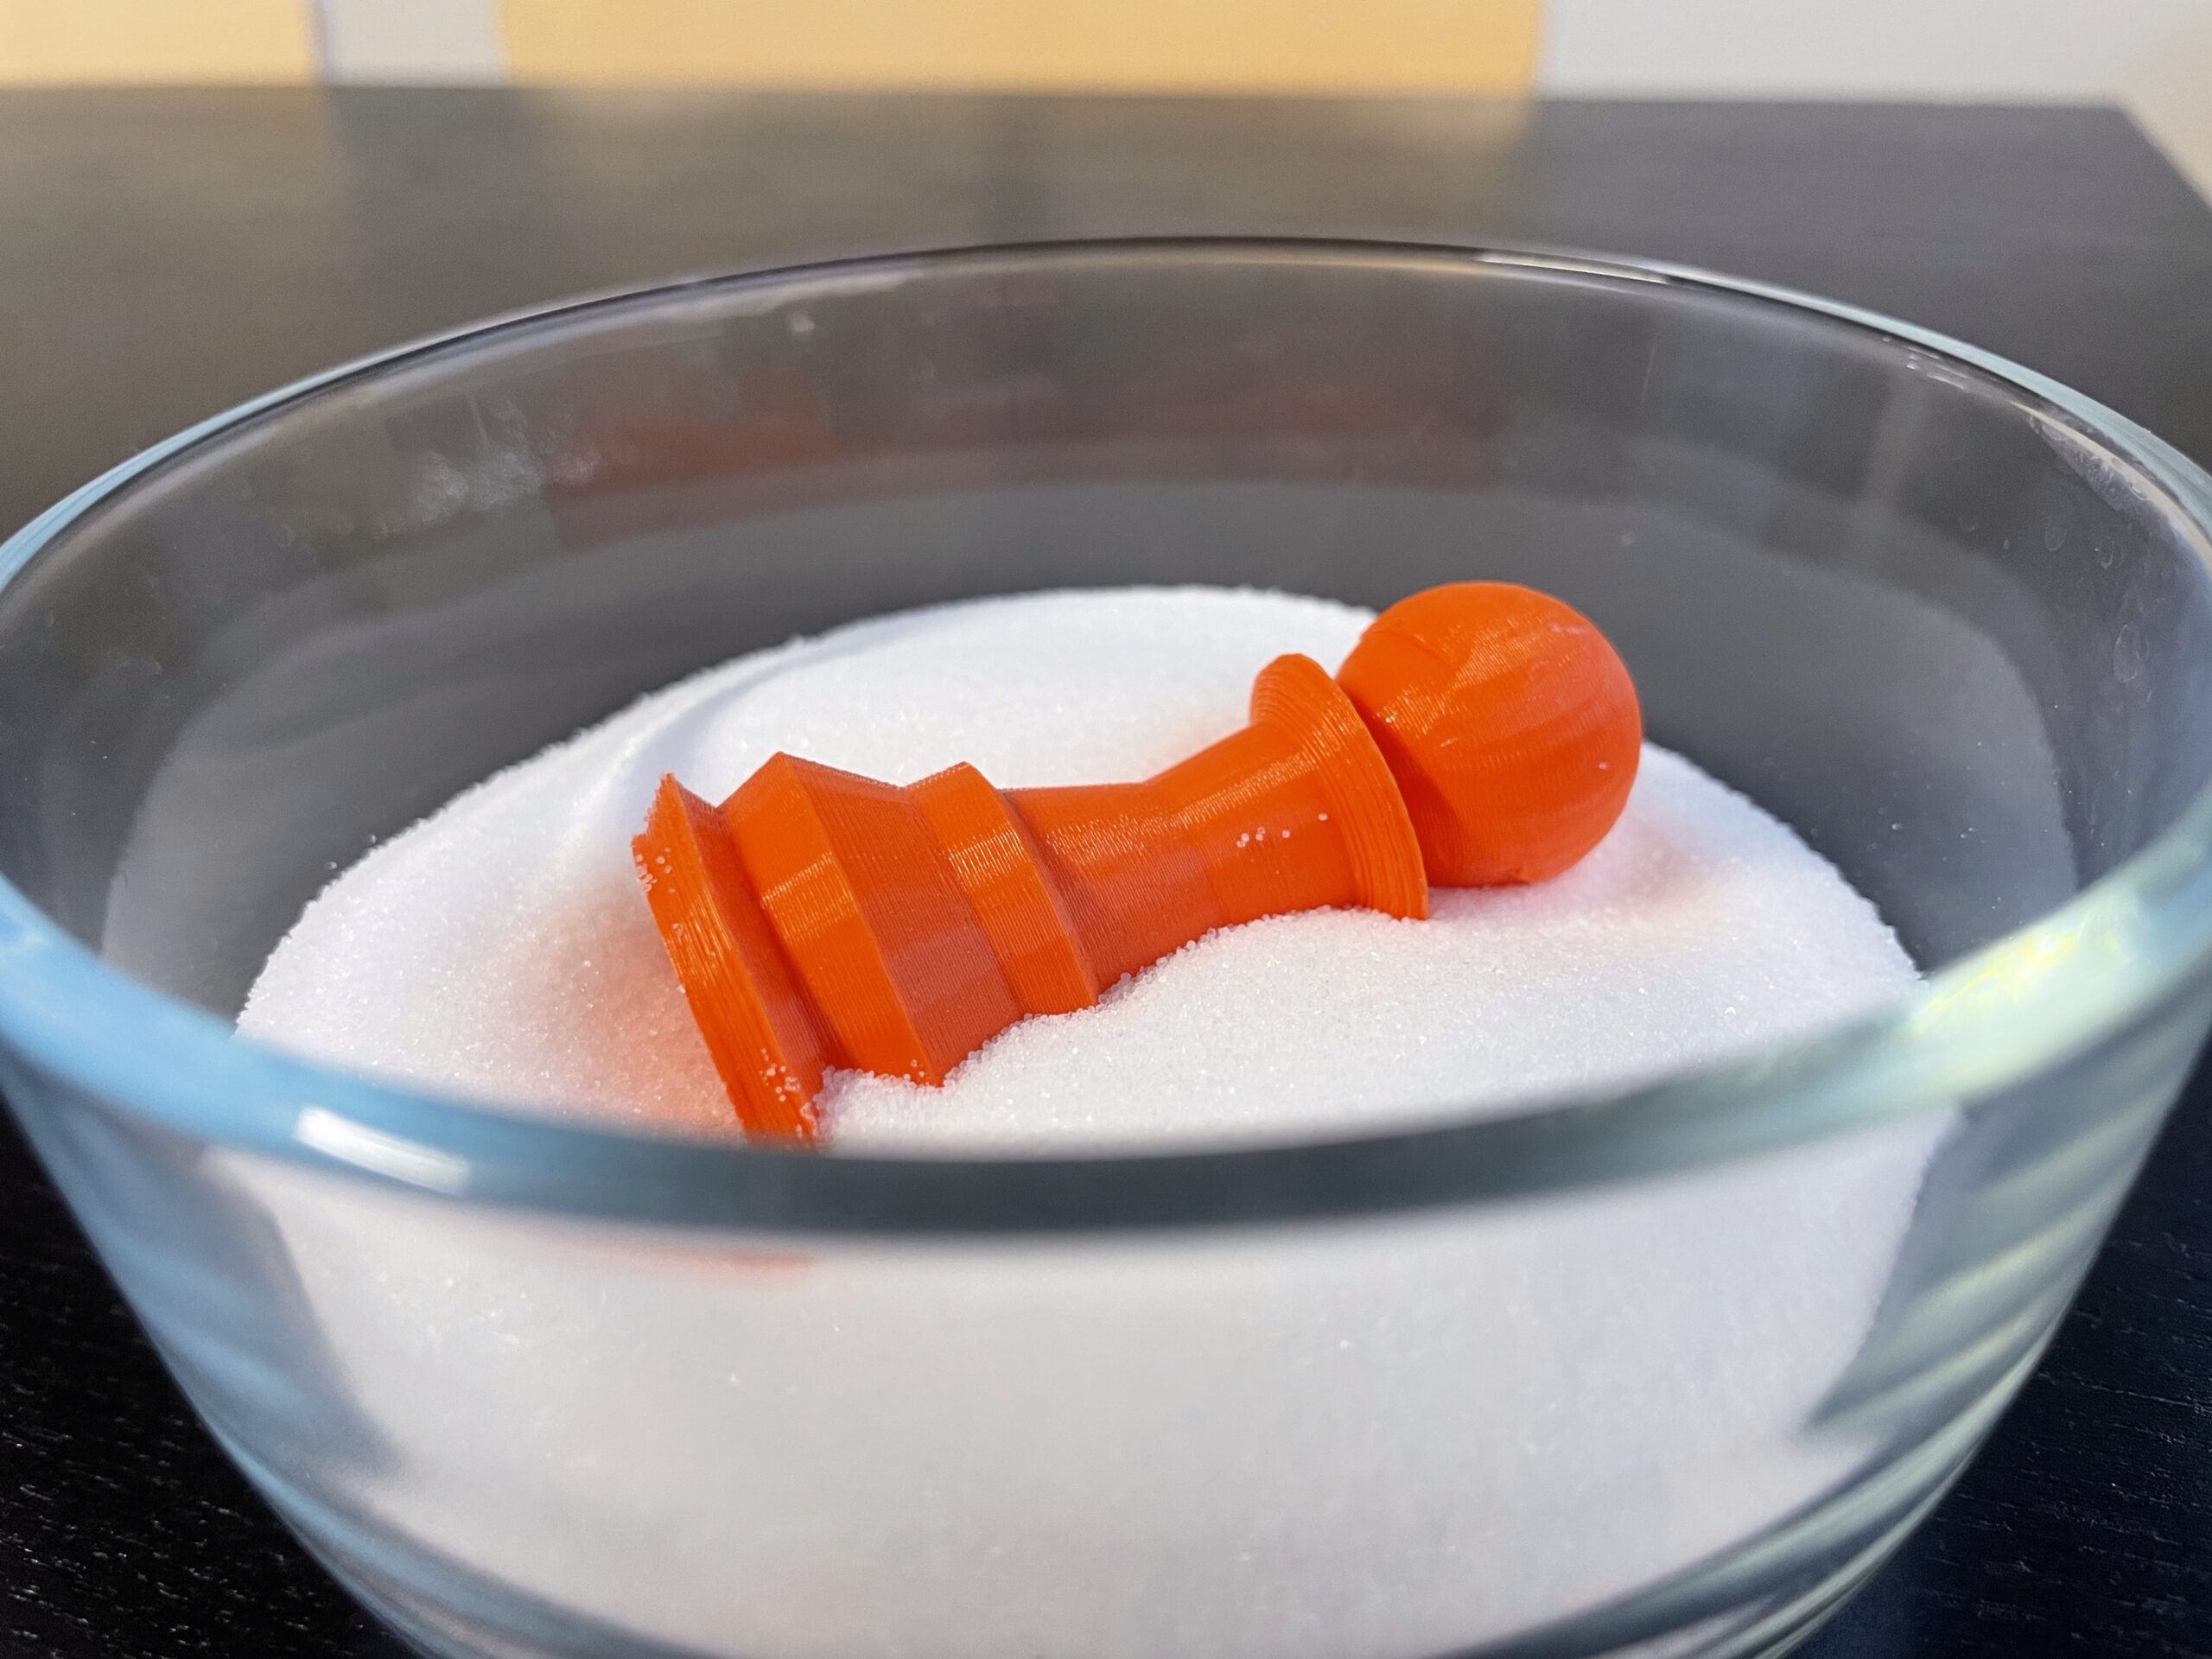
- Place your print in the salt
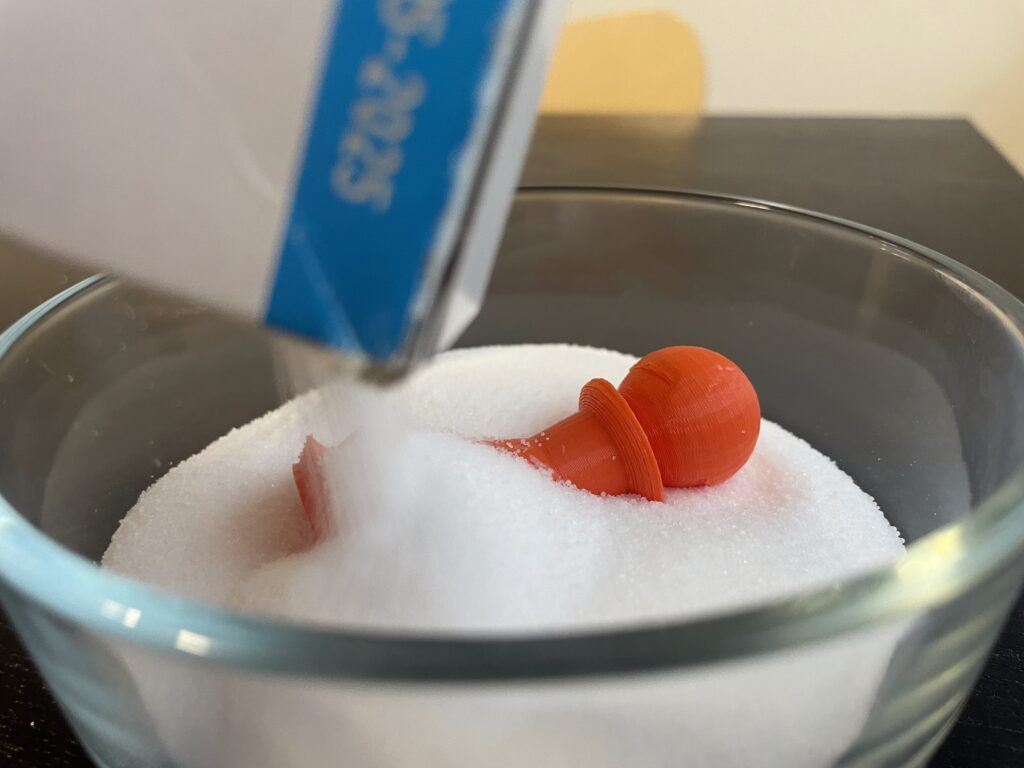
Set the printed part on the salt bed. Then cover it completely with more salt.
Shake the container gently to fill all gaps around the part.
- Heat the oven
For PLA, set your oven to 70–90°C.
Avoid going above 100°C to prevent melting.
Tip: Home ovens often fluctuate, so using the lower end of the range is safer for beginners.
- Bake the part
Place the container in the oven and let it heat for 30–60 minutes, depending on the thickness of your print.
- Let everything cool slowly
Turn off the oven and leave the container inside until it reaches room temperature.
Cooling too quickly can lead to warping — slow is best.
- Remove and clean the part
Once cooled, take the part out, brush off the salt, and admire your upgraded print.
How to avoid common problems
Warping:
Make sure the part is fully buried and the oven isn’t too hot.
Surface texture changes:
Fine table salt can leave a slightly matte finish. If you want a smoother surface, use coarse salt.
Dimensional changes:
Parts may shrink slightly, usually 1–3%.
If precision matters, print with a small scaling offset in your slicer.
Is salt annealing worth it?
If you print functional parts, anything exposed to warm environments, or objects that need to carry weight, then yes — salt annealing is absolutely worth trying. It’s one of the simplest ways to turn basic PLA into a much more capable material.